Windows Images for Openstack
If you are starting to work with Openstack (like me) you should know now that unfortunately not all on it is the beautiful Linux world and maybe know you are going to realize that somethimes you also need to work with Windows systems, so I have done a little research about that topic and I can share my findings with you.
The goal of this example will be to create a custom Windows Server 2008 R2 cloud image supported by a Openstack cluster environment using a QEMU/KVM hypervisor, all of that based on a Red Hat Linux (RHEL) system.
Prerequisite
We will need the follow files to achieve the creation of this Windows cloud image.
-
A Windows installer ISO image, that surprisingly for me we can download directly from the Microsoft Download Center site Windows Server 2008 R2 Evaluation with a limited functionality (obviously) of 180 days but I guess it’s okay for our training proposes.
-
The latest version of VirtIO drivers for Windows, which will allow a better performance for our customized Windows cloud image.
-
The latest version of Cloud-Init for Windows that the guys of CloudBase generously made and share with us.
Base image creation
We need to complete a basic Windows installation as first step to build our customized image.
Create an empty raw image
First of all we have to create a image/disk in qcow2 format (which is the recommended for KVM hypervirors) will be used a container of our customized Windows image.
# qemu-img create -f qcow2 -o IMAGE_NAME.qcow2 10G
We recommend use 10G of space for the basic Windows Server 2008 installation but feel free to change that value for whatever you want.
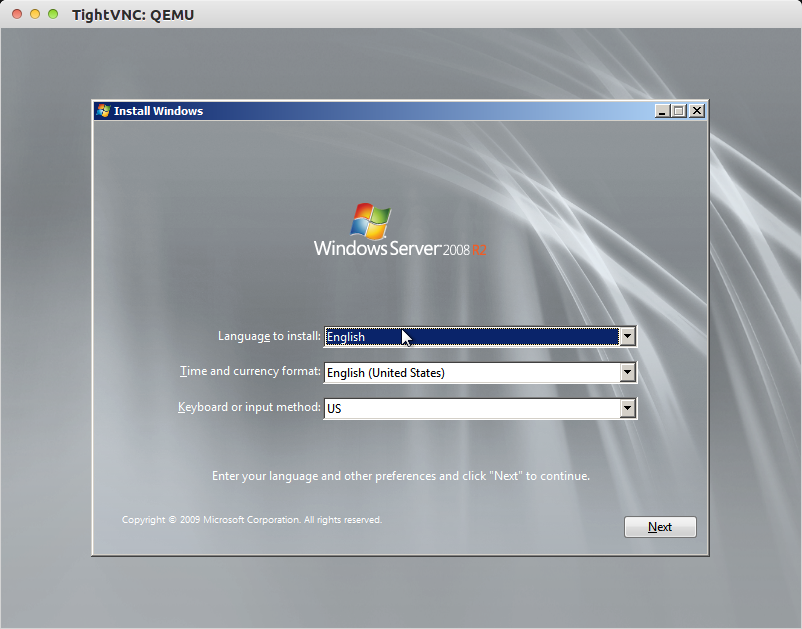
Windows installation
Now we have to launch a KVM instance/VM and perform a basic Windows installation on it using the follow instructions.
# /usr/libexec/qemu-kvm \
-m 2048 \
-cdrom Windows_Server_2008_R2_Eval.iso \
-drive file=Window-Server-2008-R2.qcow2,if=virtio \
-drive file=virtio-win-0.1-81.iso,index=3,media=cdrom \
-net nic,model=virtio \
-net user \
-nographic \
-usbdevice tablet \
-vnc :9
Note we are referring to some VirtIO virtual devices on the last command sentence in order to our Windows image use them to get a better performance. Also we are using the parameter -usbdevice tablet in order to force to the mouse pointer to be more precise on the VNC client.
Connect to the instance launched by VNC protocol
# xvncviewer 127.0.0.1:9
You can use the xvncviewer or any other VNC client that you want to use.
Then we can start with the normal windows installation.
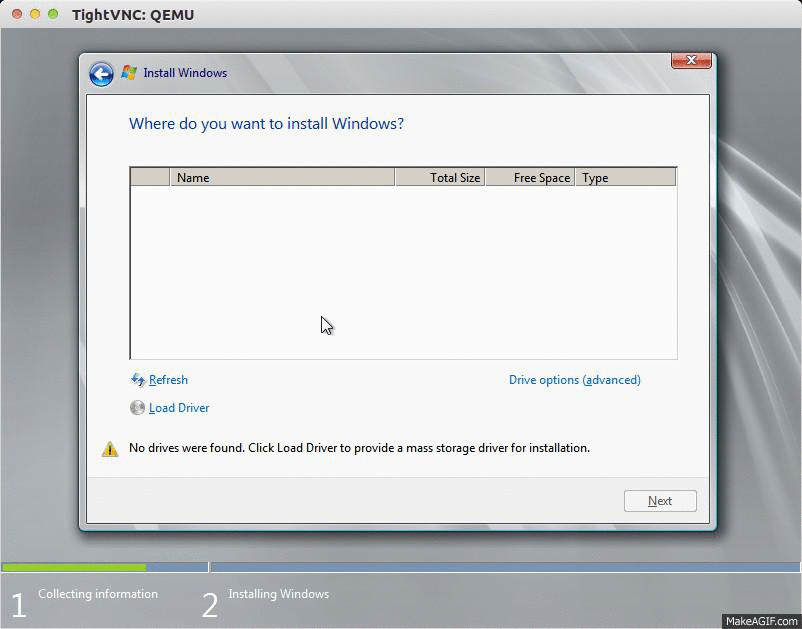
In the disk setup section we have to select the VirtIO driver from the ISO image attached on the second CDROM drive in order to move forward as follow:
Browse > CD Drive(E:) > WLH > AMD64 > Ok
Once finished with the installation you must complete the setup enabling the Remote Desktop access, enabling it and allowing the access in the firewall rules.
Complete the installation
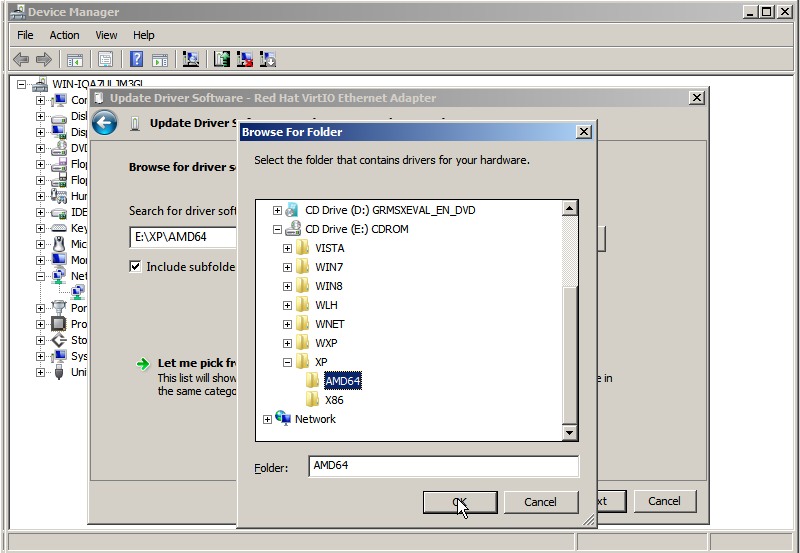
Once you have completed the Windows base installation we must setup the missing VirtIO drivers, in this case we are going to update the network drivers as follow:
- On the Device Manager
- Select the missing ethernet device (Ethernet controller)
- Update driver software…
-
Select browse my computer for driver software
Note: It’s important to select this option because another it could select a wrong driver.
-
Browse and select the cdrom with VirtIO drivers
Browse > CDROM (E:) > XP > AMD64 > OK
- Next and Install the “Red Hat VirtIO Ethernet Adapter”
- Done
Enable RDP
We need to enable the Remote Desktop in order to get access to the new instance from the network.
Setup firewall to allow access by RDP
Allow access by RDP enabling the follow firewall rule:
Windows Firewall > Advanced Settings > Inbount Rules > Remote Desktop (TCP-in)
IMPORTANT NOTE: I’m not a Windows Expert I’m just trying to show you the way that worked for me to complete the Windows image setup. So if you know a better method to complete these tasks please feel free to use them.
Cloud-Init Setup
Now to complete our cloud image creation we need install the cloud-init packages in order to it has full functionality in our Openstack compute cloud.
There are several ways to attach the necessary files to our instance, but as I didn’t have Internet access and either have the necessary packages to mount a external filesystem into it, I choised the easier way for me to share those files to it making a ISO image and mount it as cdrom to get access to the cloud-init installer for Windows. After that we just need to follow the wizard (in Windows style).
On this time we have completed the creation of our own Windows Cloud Image!!.
Import the image to Openstack
Now we are ready to import the new image to our Openstack environment and test it.
# glance add name="Windows-2k8-x64" is_public=true container_format=bare disk_format=qcow2 < Window-Server-2008-R2.qcow2
Launch an instance based on the new image for first time
From the dashboard launch a new instance using our new Windows image.
Get the password
We need to run the follow command in order to get the credentials to access to the new instance by RDP using the key pair used during its creation.
# nova get-password INSTANCE_NAME KEY_NAME.key
Connect to the Windows instance
In this point you should be able to connect to the new instance through your favourite RDP client pointing to the IP address assigned to it.
So, enjoy it!!